🗂 Coordinate your country
Your to-do board — Every day, one look
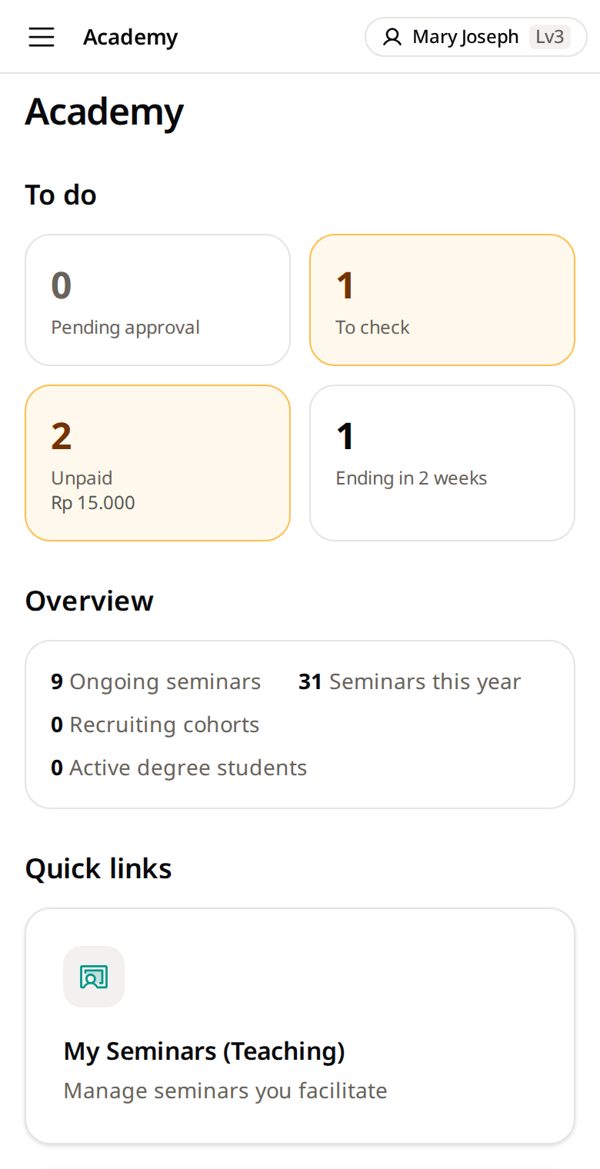
1. Academy → To do
Pending approval = students waiting to join · To check = ended seminars the system could not close by itself · Unpaid = students who still owe · Ending in 2 weeks. Tap a box to open its list.
Check a finalized seminar — After the facilitator finalizes
1. ☰ (computer: left menu) → Notifications → Finalized seminars
Or: Home → Waiting for you → All. Tap one — its seminar room opens. On a computer, Notifications is at the bottom of the left menu.
Notifications ✳
Finalized seminarsFM · 2026-10-07 · Joseph Mushi2. Final grade: does everyone have a grade?
Wrong grade? Fix it right there. Someone who dropped out counted as completed? Students → Remove… → Remove (if it asks: Mark as dropped out).
Do not tap “Finalize seminar” — the facilitator does that. You only check.
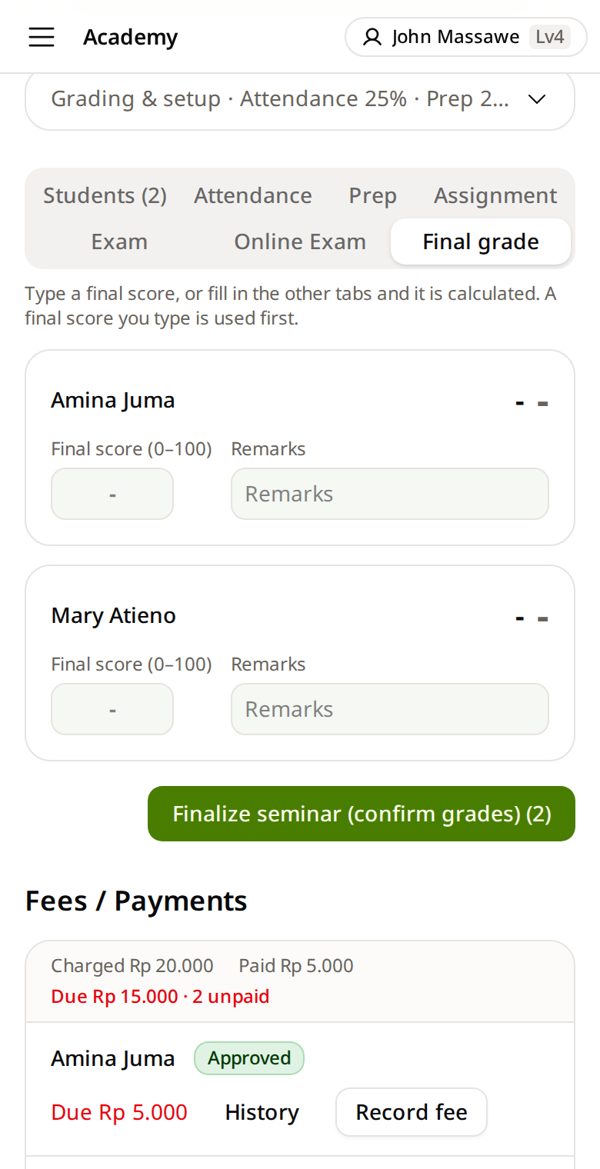
3. Right? → Confirm review
It asks “Have you checked the grades…?” → OK. Made a mistake? Undo review.
Confirming says you looked. Do not confirm without opening the seminar room.
Final grade ✳
✅ Finalized by Joseph Mushi on 2026-10-20⏳ Waiting for the coordinator's reviewConfirm review
Confirm finance entries — If you are the ledger owner
1. Finance → Waiting for your confirmation
Ledger owner = the person who checks these money entries. Your facilitators' expenses come with their receipts.
Finance Home ✳
Waiting for your confirmation3 entries2. Receipt · amount · account → ✓ Confirm & next
Wrong account? Change account there. No receipt? Skip and ask for the photo.
Confirm within the week. The person who typed it cannot confirm it.
To Confirm ✳
Facilitator transportation · 15,000Joseph Mushi · receipt ✓✓ Confirm & next3. Seminar fees not yet in a ledger → Received
Fees your facilitators wrote as paid by students. Press it only when the money has reached you.
Finance Home ✳
Seminar fees not yet in a ledgerJoseph Mushi · 140,000 TZS · 14 students · 3 days ago✓ Received4. Already ticked → Save as received
Write the mobile money code in the note. Only part arrived? Untick the rest — they stay on the card.
The facilitator presses nothing. When you save, they see ✓ in History.
Seminar fees received ✳
Grace Achieng · 10,000 TZSAmina Juma · 10,000 TZSSave as received
Open an online workbook — After the money is in hand
1. Academy → Requests → Online workbooks
Each line shows who, which book and what to check. ✅ = in the seminar and the fee was received. ⚠️ says what is missing. Tap Review to see the seminar, the fee and the note.
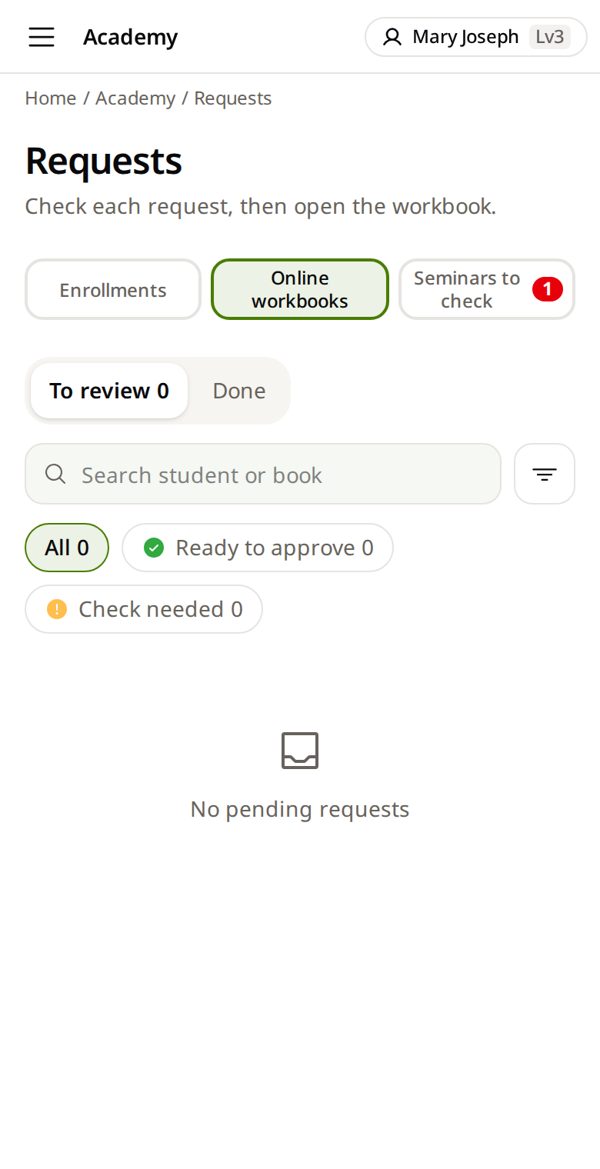
2. Want to check more? View fees or Open seminar room
The seminar room's fees open (or the student's page from Student profile). Then tap ← Back to Requests at the top — you come back to the same place.
Requests ✳
Grace AchiengQAR 100.00 due3. Money received? Paid — open workbook
Fee recorded in the seminar room? It opens at once. Not recorded? Write the amount, currency and method you received, then Record payment and approve. A free book your BEE office agreed? Free support — open.
Requests ✳
Grace AchiengRecommended — in the seminar · fee paidPaid — open workbook4. Not right yet? Reject and write why
The facilitator sees your reason next to the student on Requests. Or just leave it — it waits.
Requests ✳
Grace AchiengCheck needed: Fee not paidReject5. Opened by mistake? Done → Close access
Done lists what you approved or rejected, the money note, and whether it is still open.
Requests ✳
Grace AchiengApproved · Payment confirmedClose access
Read monthly reports — First week of the month
1. Applications → Inbox → Watching
Watching = reports in your countries. The branch director and HQ approve them — you read them.
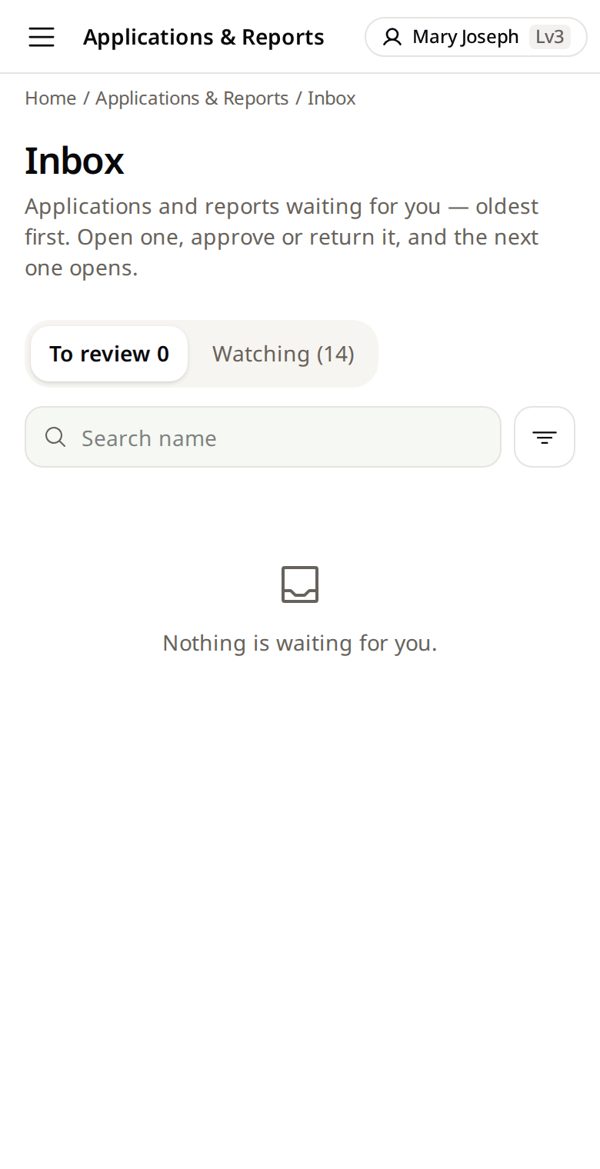
2. Missing something? Add Note
Compare the report with the “in the system” box. Write exactly what is missing — “seminar X not finished”, not just “wrong”.
Your note is internal — tell the facilitator yourself.
Monthly Ministry Report (B-75) ✳
9/2026 in the systemAll recordedAdd Note
Request diplomas — A batch for one graduation — from the list to the printed diplomas
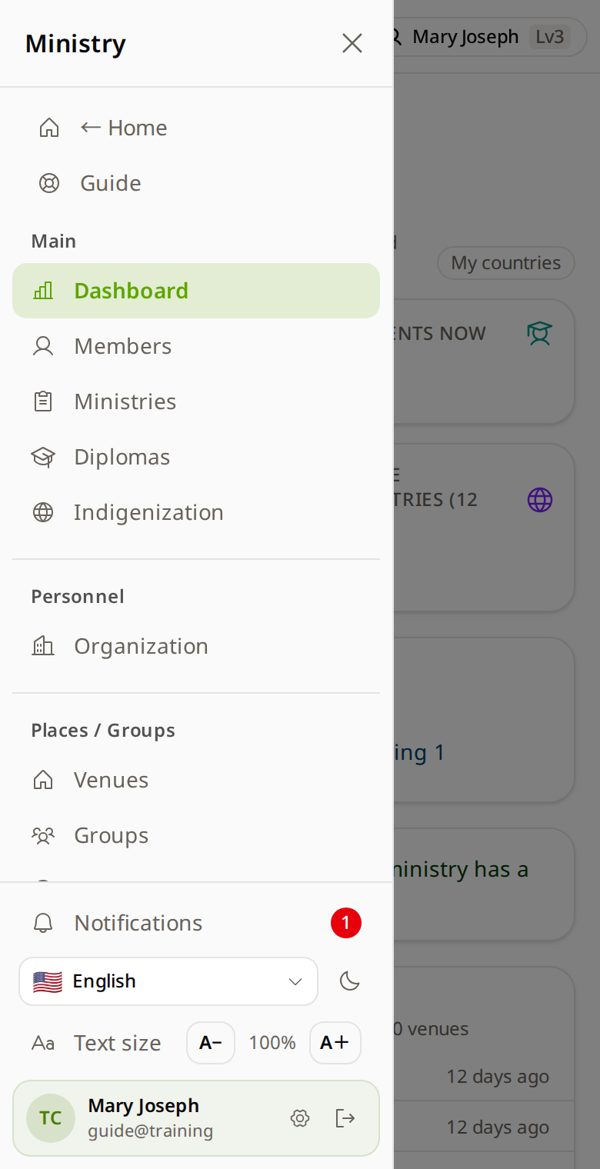
1. Open Diplomas
Home → Ministry tile → ☰ (computer: left menu) → Diplomas.
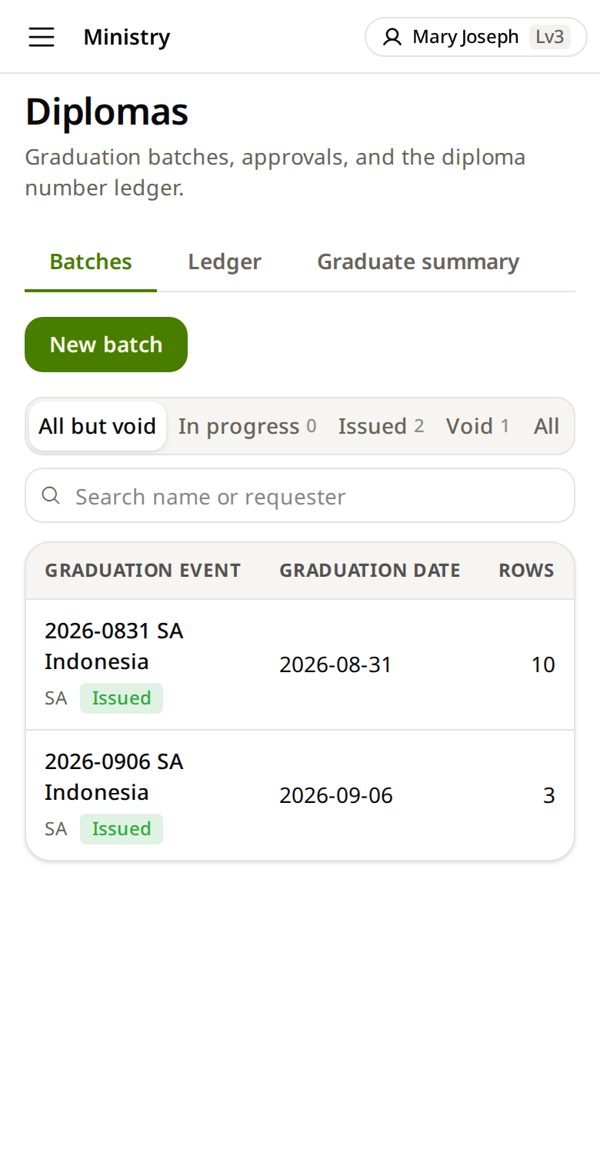
2. Tap New batch
One batch = one graduation.
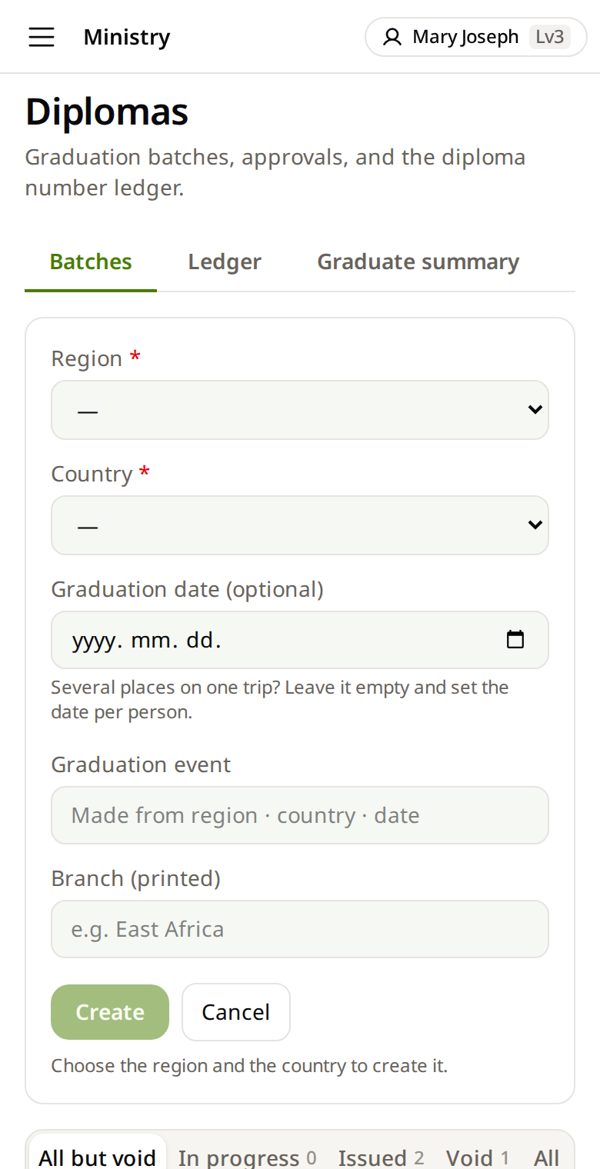
3. Region · Country · date → Create
The event name fills itself. Several places on one trip? Leave the date empty. Branch (printed): empty = your region's usual name.
4. Add people: + Add person
Type each person — or Download Excel template, fill it, Upload list (Excel/CSV).
Word or PDF lists work too — AI reads them, so check every row.
Batch ✳
+ Add personDownload Excel templateUpload list (Excel/CSV)5. Each person: name as printed → tick the degree
Name exactly as on their ID or passport. Tick every diploma they finished: DPM Practical Ministry · DCL Church Leadership · DBS Biblical Studies · CPM certificate.
A row with no degree ticked is not saved.
Batch ✳
Grace AchiengName (printed) · DPM ✓ · 2026-11-20Joseph MushiDPM ✓ DCL ✓6. Save list → Submit for approval
Save first — unsaved changes cannot be submitted.
You can still fix names until the branch director approves.
Batch ✳
Save list2 people · 3 diplomasSubmit for approval7. Wait for the two approvals
Your branch director, then HQ. HQ's final approval gives the diploma numbers.
After HQ's final approval the numbers are fixed. A wrong name then needs a name-fix request.
Status ✳
SubmittedWaiting for the branch director's approvalBranch approvedWaiting for final approval — numbers are assigned at this stepFinal approved · issued8. Print: Open print view (PDF)
Then Print / Save as PDF.
Final approved · issued ✳
Open print view (PDF)Print / Save as PDF
Give the Local Facilitator role — For someone who works on every seminar in a country — a normal facilitator needs only Level 4
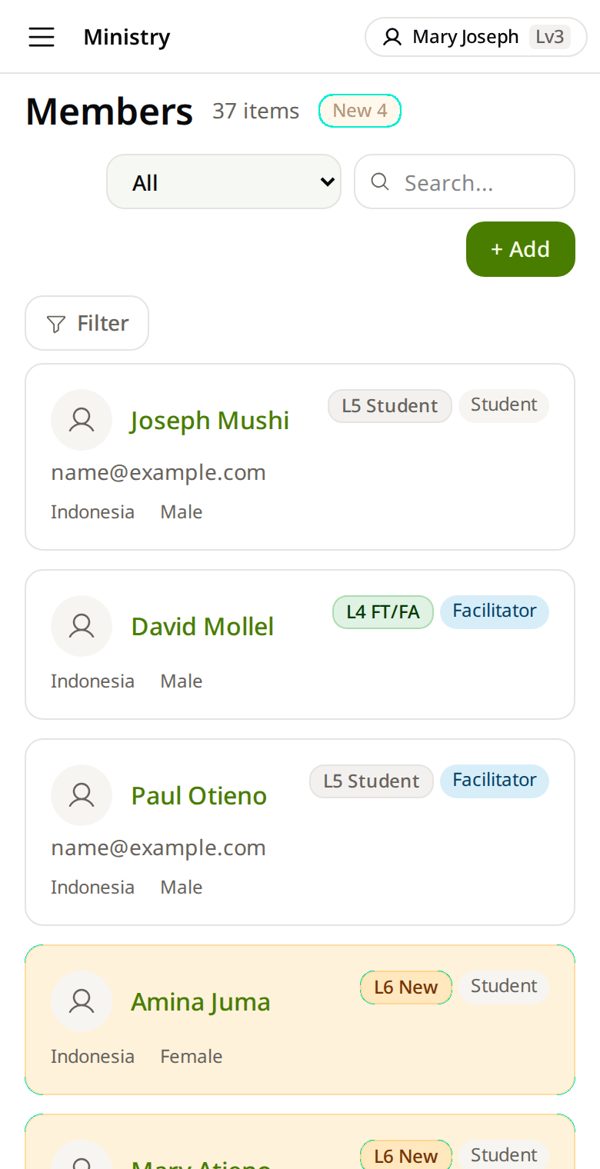
1. Open Members
Home → Ministry tile → ☰ (computer: left menu) → Members.
2. Search the person → tap the name
Not in the list? Add them first (Country reporter book: “A new facilitator”).
3. Scroll to Scoped Roles → pick role and country
In the Admin box at the bottom. Usually Local Facilitator, where they work.
Only for people who really facilitate.
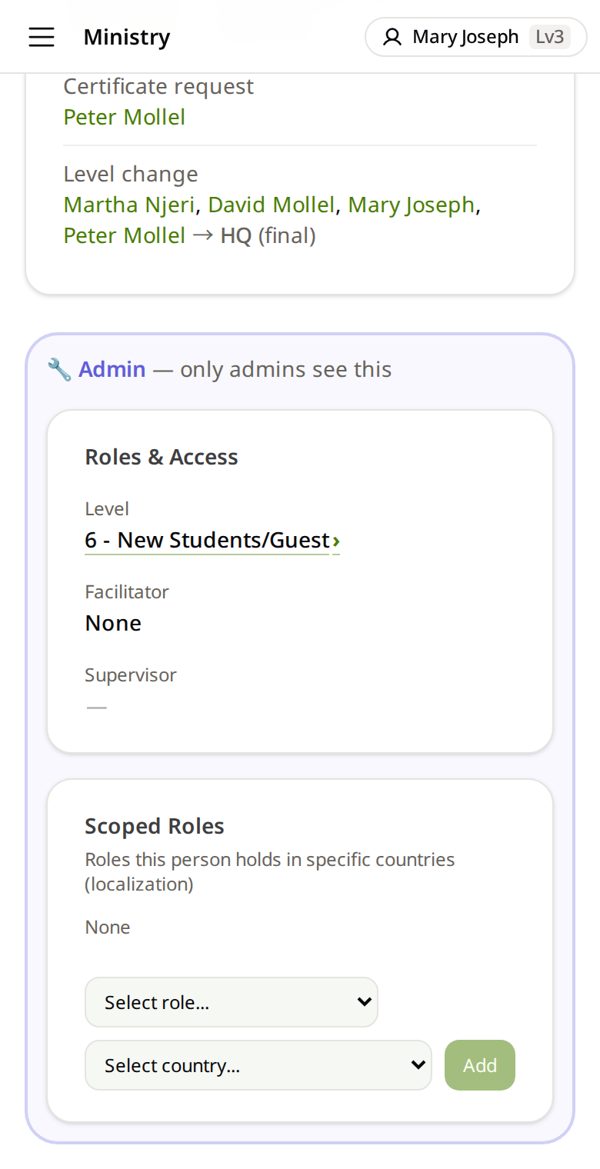
4. Tap Add
It works at once. Wrong one? Tap × next to it.
📚Other books you need
- Your own seminars → Facilitator book
- Your countries' seminar list → Country reporter book
- Signing in, your profile → First day book
🔑Which role to give?
- Local Facilitator — runs seminars in that country: students, attendance, grades, fees · adds record-only students
- Data Entry — enters Workbook Stock in and out for that country
- Local Coordinator Assistant — sees members, seminars and applications of that country (cannot change them)
⏰When to do what
- Every day → Your to-do board
- Every week → Confirm finance entries
- First week of the month → Read monthly reports
📦Textbook stock
Workbook Stock → read only. Red (negative) = an arrival was never recorded — tell the warehouse keeper.
👥One person, two accounts
Do not delete either. Tell HQ which one is right.
🌍Several countries
Members and Ministries: Filter → Country. All your countries are in one list until you pick one. Workbook requests show all your countries together.
💳Is the money really in?
Before Paid — open workbook: check with whoever got the money (you, the facilitator or the finance person) — name, amount, date. Not sure? Leave it — it waits.
💻Using a computer?
- Button and box names are the same as in the pictures.
- The menu is always open on the left — where the guide says ☰, use the left menu.
- Lists show as wide tables. Keep this guide open on your phone beside you.
🎓Diploma: wrong name or lost
- Wrong name: Ledger → find it → Edit → corrected name + reason → HQ approves.
- Lost or damaged: Ledger → pick it → Create reissue request. The same number is printed again.
I don't see “Waiting for your confirmation”
You are not the ledger owner for those entries. Ask HQ who checks them.
I approved a workbook by mistake
There is no undo screen. Tell HQ.
“Forbidden” when I add a role
You can give only Local Facilitator, Data Entry and Local Coordinator Assistant — for your own country.
“Submit for approval” is grey
Press Save list first.
I confirmed a review by mistake
Seminar room → Final grade → Undo review.
A student paid, but there is no request
The student must send it: the book → Request access from administrator. You see only your countries, and a request someone already answered leaves the list.
I gave the wrong role
That person's page → Scoped Roles → × on the role → OK. A role for a whole region: ask your branch director.